9I need to count my rows
Set up row counters with targets, link them to projects, and track repeats
Knitting and crochet patterns describe work row by row, but keeping track of where you are - especially across pattern repeats, shaping sections, and multi-day sessions - is one of the biggest challenges crafters face. Stash2Go gives every project its own set of digital counters that sync across all your devices, so you never lose your place.
A quick walkthrough of row counters - see how to create, chain, and customize counters for your projects.
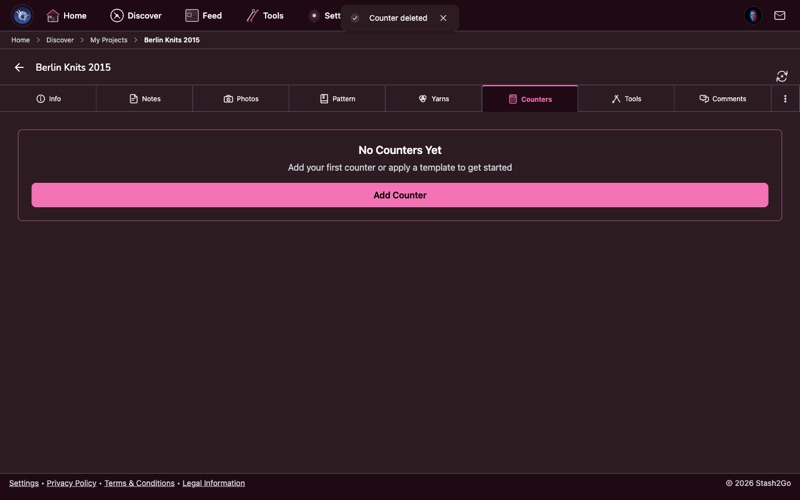
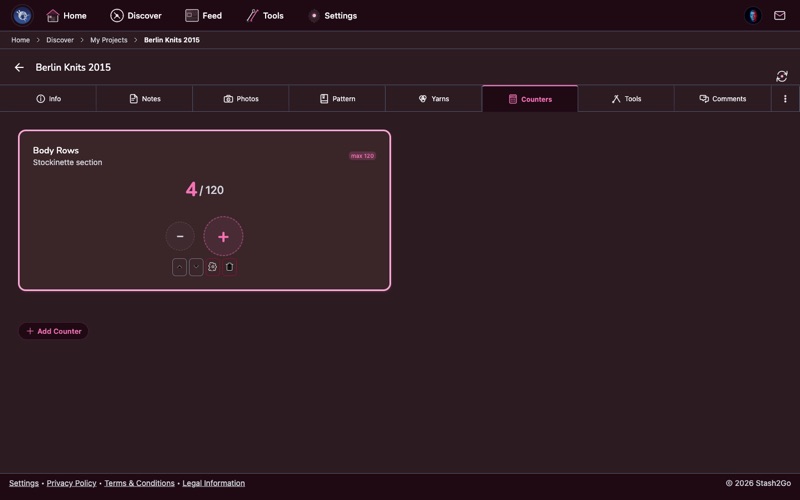
Navigate to any project and open the Counters tab. Each project maintains its own independent set of counters, keeping your body rows separate from your sleeve rounds or collar stitches. A fresh project starts with no counters - you decide how many you need.
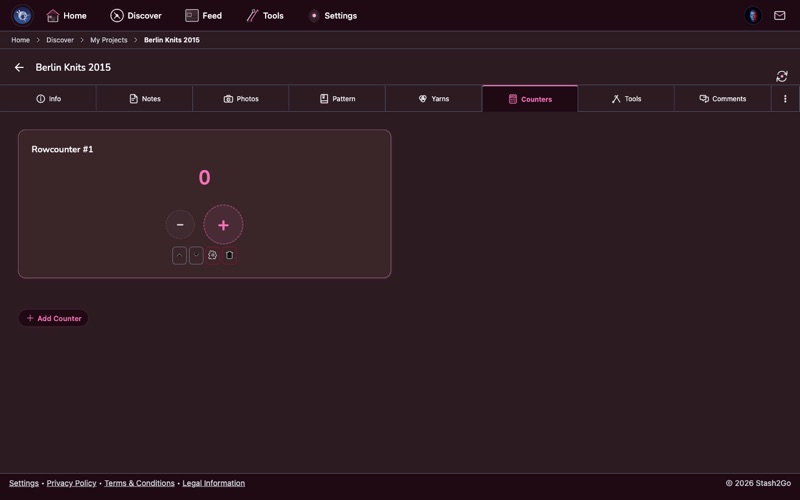
Press "Add Counter" to create a new counter. It starts at zero with a default name. Most patterns benefit from multiple counters - one for total rows, another for a repeating stitch pattern, and perhaps a third to track shaping intervals like raglan increases.

After finishing each row, hit the large + button to increment. The oversized tap target is designed for counting without looking - perfect when your eyes are on the needles or the TV. On supported mobile devices, taps can trigger subtle haptic feedback.
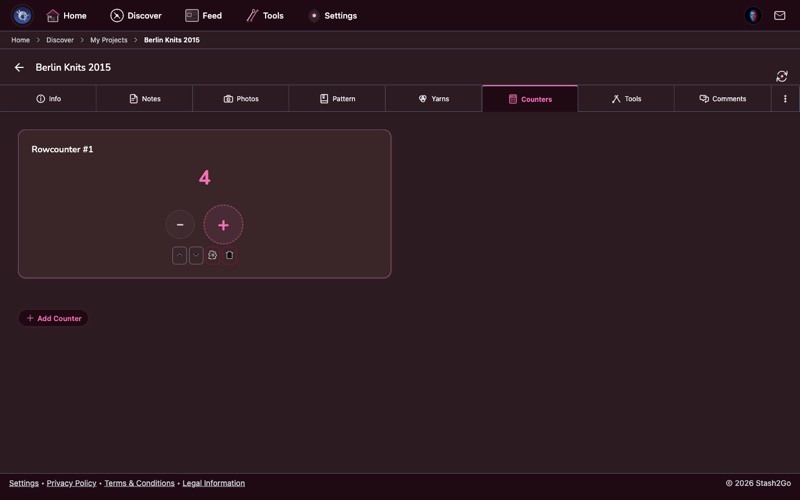
The smaller − button decrements the counter by one. Use it when you need to back up - whether you miscounted, frogged a row, or simply tapped once too many. The value won't drop below zero.
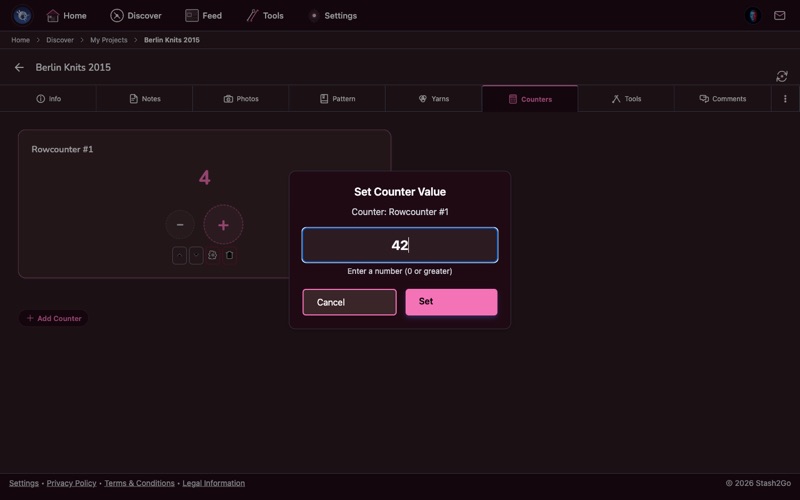
Instead of tapping dozens of times, press the counter number itself to type a value directly. This is essential when resuming a project after a break, or when frogging (ripping back) several rows - just enter your new position and keep going.
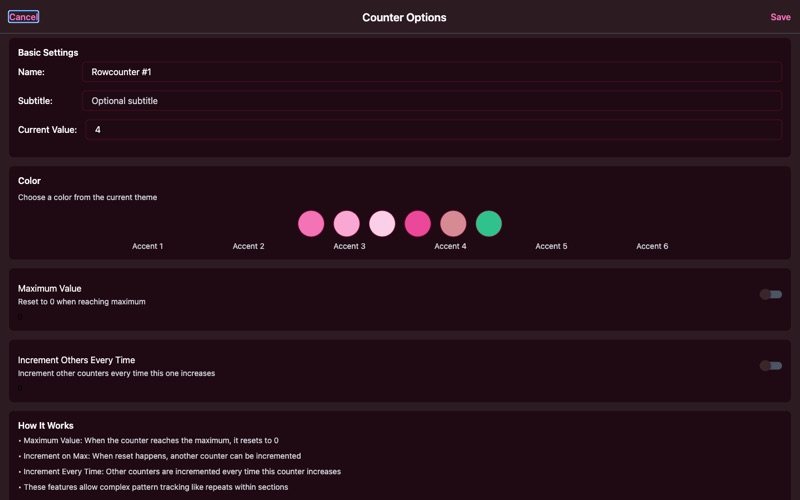
The gear icon on each counter opens a settings panel where you control its name, subtitle, color, maximum value, and chaining behavior. Every counter can be fine-tuned to match the specific section of your pattern it tracks.
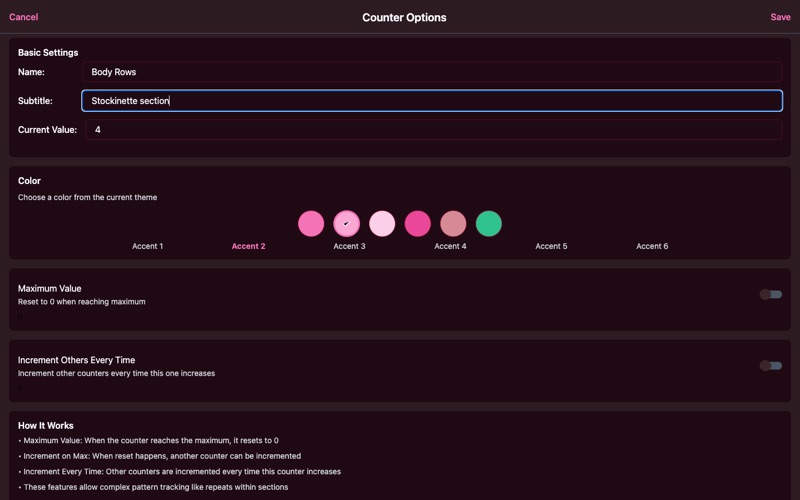
Give each counter a descriptive name (e.g., "Body Rows") and an optional subtitle (e.g., "Stockinette section") to stay organized. Choose from six theme-matched colors so you can tell your counters apart at a glance - blue for the body, green for sleeves, purple for the yoke.

Many patterns have repeating sections - an 8-row lace repeat, a 4-row stripe sequence, or a cable twist every 6 rows. Toggle "Maximum Value" on and set your repeat length. When the counter reaches the max it automatically resets to zero, and a progress indicator on the card shows how far through the current repeat you are.
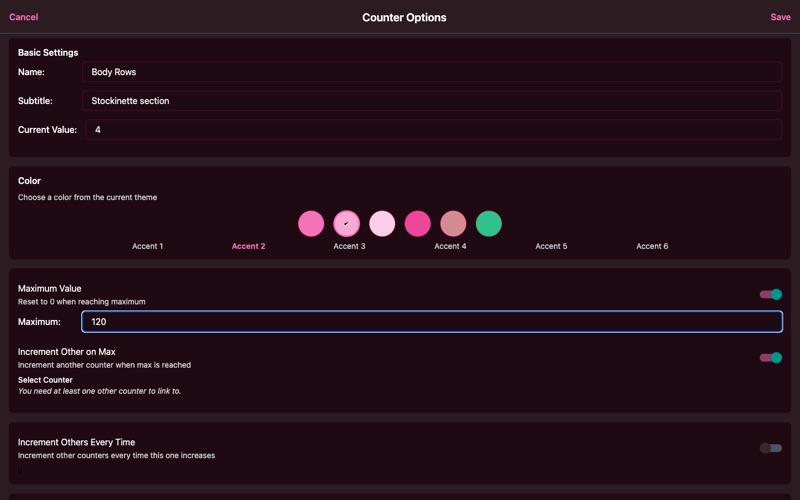
Counter chaining is where things get powerful. With "Increment Other on Max", one counter can automatically advance another each time it resets. A classic setup: a "Row in Repeat" counter with max 8 drives a "Repeat Count" counter - so after knitting rows 1-8, the repeat counter bumps from 3 to 4 and you instantly know you're starting your fourth repeat.
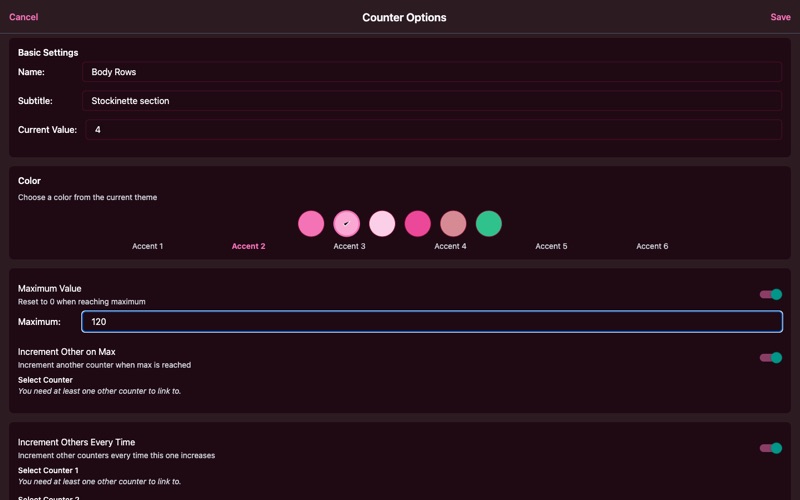
For patterns with concurrent shaping, "Increment Others Every Time" lets a single tap cascade to up to four other counters simultaneously. This is ideal for top-down raglans or garments where multiple measurements progress together - one tap on your master row counter advances your raglan increase tracker, your body length, and your sleeve separation counter all at once.
All your counters live together on one screen. On tablets and web, they display side by side for a dashboard-like overview. Each card shows its name, subtitle, current value (with max if set), and colored borders. Dependency indicators reveal which counters are linked, so you can trace how a single tap flows through your setup.
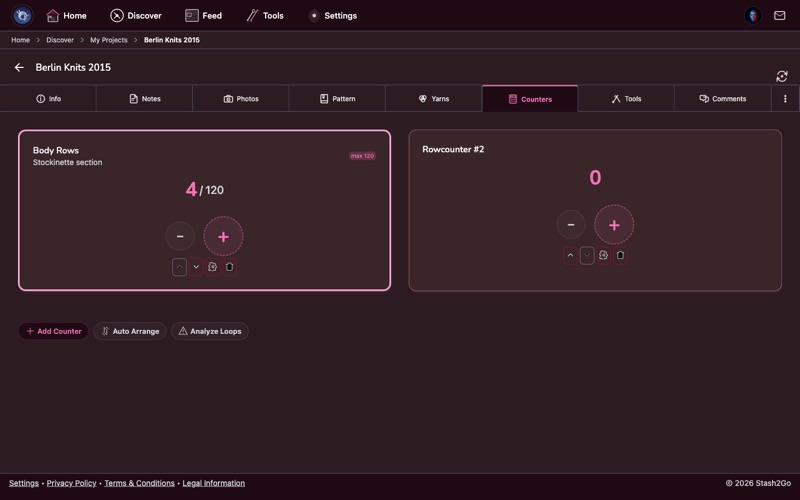
Add more counters as your pattern demands. You can build multi-counter setups - complex garments might use five or six counters tracking different aspects simultaneously. Use "Auto Arrange" to sort them by dependency order, and "Analyze Loops" to check for accidental circular chains. You can also reorder counters manually with the up/down arrows, or delete any counter you no longer need.
Putting It All Together: Real-World Counter Setups
The basic counting steps above cover everyday knitting. But many patterns involve repeating stitch sequences, concurrent shaping, or sections that depend on each other. Here are some practical counter setups that show how chaining and maximums solve real knitting problems.
A lace pattern often repeats every 12 rows. Set up two counters:
- "Row in Repeat" - maximum set to 12, auto-reset on.
- "Repeat Count" - no maximum, tracks how many full repeats you've completed.
Chain the first to the second using Increment on Max. Now you only tap once per row: the repeat counter ticks up automatically every 12 rows, and the progress indicator shows exactly where you are in the current repeat.
In a top-down raglan, you increase at four points every other row while the total yoke length also grows. A useful setup:
- "Yoke Rows" - master counter, no maximum. Chain it to all counters below via Increment Every Time.
- "Increase Row" - maximum 2, auto-reset. Tells you whether the current row is an increase row (odd) or a plain row (even).
- "Total Increases" - chained from "Increase Row" via Increment on Max. Automatically counts how many increase rounds you've completed.
One tap per row on "Yoke Rows" drives the entire setup. When the increase row counter shows 2 and resets, you know you've just finished an increase round.
For a pattern that alternates 4 rows of Color A and 4 rows of Color B:
- "Rows in Stripe" - maximum 4, auto-reset.
- "Stripe Count" - chained via Increment on Max. Odd stripes = Color A, even stripes = Color B.
When "Rows in Stripe" resets to zero, it's time to switch colors. The stripe counter tells you which color is next without consulting the pattern.
Many cable patterns twist every 6 or 8 rows, with plain rows in between. Create a single counter:
- "Cable Row" - maximum set to 6, auto-reset.
When the counter hits 6 and resets, that's your cue to work the cable cross. No need for a second counter - the progress bar on the card is enough to see at a glance how close the next twist is.
Knitting two sleeves separately and worried they won't match? Set up two counters with identical settings:
- "Sleeve 1 Rows" - color green, subtitle "Left sleeve."
- "Sleeve 2 Rows" - color blue, subtitle "Right sleeve."
Track each sleeve independently. Before binding off, compare the two values to make sure both sleeves have the same number of rows. Color-coding makes it obvious which sleeve you're working on.
Available on iPhone, iPad, Android, and web at app.stash2go.com